On this page, you can define your company's working system. With overtime and break arrangements, you can keep track of your staff's work during working hours and stop checking during break times.
Creating a New Group #
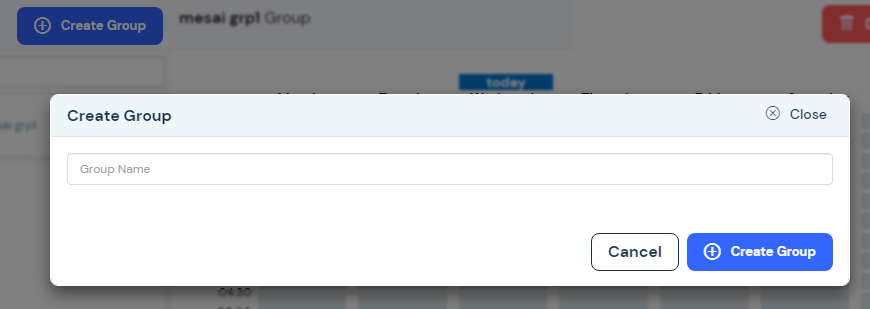
To create a group, you can click the "Create Group" button, type the group name from the drop-down menu and click the "Create Group" button.
Working Groups #
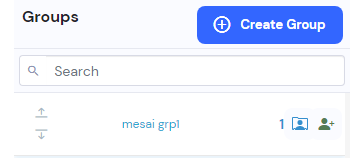
The groups you've created are located on the left side of the page. The order of these created groups; you can adjust it from the up and down arrows to the left of the group names. The order of these groups sets the dominance of content control during working hours.
You can access the menu where you can choose which staff and departments the created groups are valid for from the "Add Staff" button.
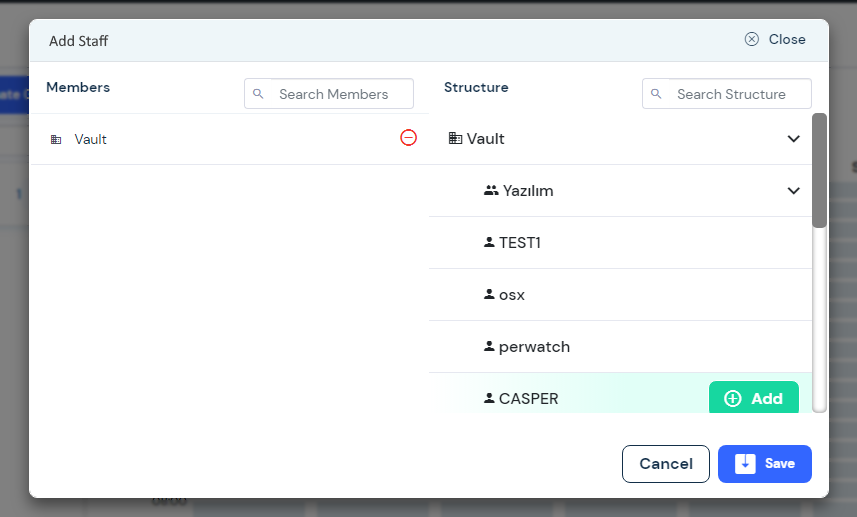
This page lists the departments in your company. By clicking the add space button to the left of the departments listed here, you can add the selected department to the scope of the work groups that have been created. If you want to add selected staff, you can list the staff by clicking the expand button to the right of the department that contains the staff you want to include. You can include these listed employees in the rule group that is created. This allows you to define a new rule group for the selected employee that is excluded from the rule group that is defined in their department.
Editing a Group #
In this menu, you can define the hourly overtime and break of the created work groups.
If you want to make changes to working hours, make sure the "Edit overtime" button is selected. You can then select the time intervals you want.
If you want to make changes to break times, make sure the "Edit break" button is selected. You can then select the time intervals you want.
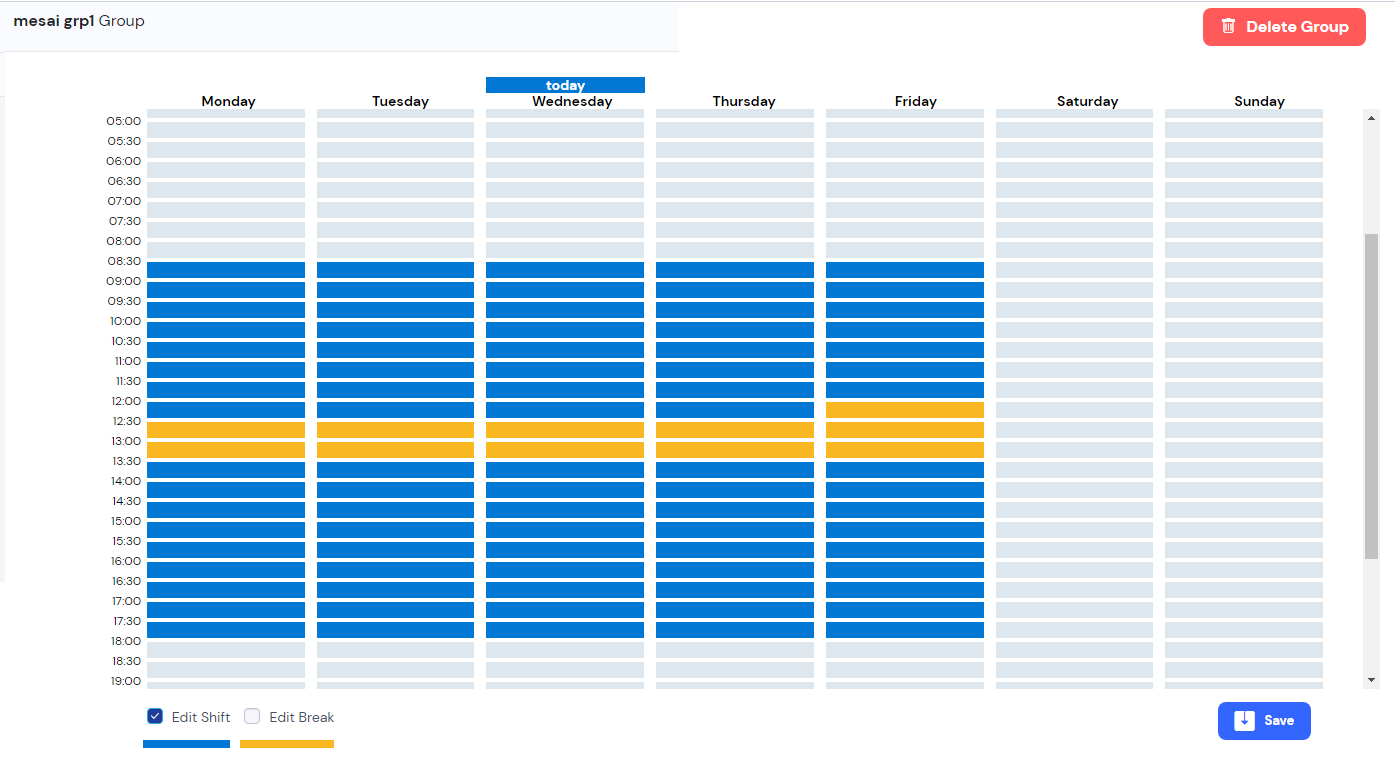
To save your changes, you can click the Save button.